Showing posts with label recipes. Show all posts

Thursday, May 7, 2009

Apple Butter (on the thrift)

swap blogpost
Recently I was able to try out another experiment in 'living on the thrift'. I have been filling a gallon size freezer bag with all of our left over apple cores and peels, with the plan to make apple butter in the future when the bag was full. With bag now full, my mad science experiment was ready, and the results were successful. After cooking and mashing I was left with about half a cup of yummy apple butter. The yield was a less then I hoped for, but I plan to improve that by buying some proper equipment. It isn't a jar full but with minimal supplies and time I was able to produce something tasty from something that would otherwise been thrown away.

Thrifty Apple Butter
1 gallon size ziploc bag of apple cores and peels
enough water to cover bottom of heavy pan

Place water and apple parts in heavy bottom pan. Bring water to a boil over medium heat, then turn down to a simmer and cover. Simmer for about a hour until the apple parts are very soft. Place colander over a large bowl. When apple parts are soft pour mixture into colander and press mixture through holes. If you have a food mill use it instead, you will be able to get a lot more apple pulp with a mill. Pour pulp back into pan and bring to a slow simmer. Cook (about an hour) until water has been evaporated and butter is a thick consistency.

Tuesday, January 6, 2009

Excuses and Hedgehogs

The holidays are over and it is back to business as usual. At least I am trying to get back to normal. The no more sleeping in, is wearing on me! Pass me another pot of coffee please!!

I droped off the grid about Thanksgiving, sorry for the long hiatus. I should have let ya know I was going to be away for a while but I didn’t know myself. Before Thanksgiving I had phone troubles (I know- dial-up is from the dark ages, but it is what I’ve got!). This is my first excuse. Then when the phone was finally fixed (which took about 2 weeks-ahhh!) I went into just get through Christmas mode. That sounds really Scrogge-ish but my father passed away in August and this was the first Thanksgiving and Christmas without him. I was in a bit of “let’s get this over with” kind of mood. I won’t say it was a good Christmas but better than expected.

During Christmas break I was very productive trying out lots of new crochet projects and when Nana got here even a few knitting projects. Yea, you heard me right KNITTING! I made a knitted then felted star that was way fun. My husband was teasing me that I used knitting and fun in the same sentence. I also made a hat from a pattern that was written wrong – this was a big boost to the knitting ego! And now I am trying to finish a pair of slippers. Though it was agreed upon that I could have crocheted the slippers faster it was a good learning and muscle building experience (the slippers are knitted with two strands so I have tender finger tips and sore shoulders).

I am trying to get school spirit back up. It is hard to compete with Christmas. Chocolate is always a good motivator (for the kids and mom)! Little Chief is reading “Milly-Molly-Mandy.” If you have never read this book check it out at your library. Sometimes a good kid’s book is just what the doctor ordered for a damp and dreary winter’s day. Today Milly-Molly-Mandy found a hedgehog. Chocolate + Hedgehog makes for a pleasant enough evening (until the kids are running around yelling from the sugar high! You have to take the good with the bad in life!)

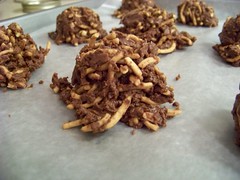
Chocolate Hedgehog Cookies
1 C chocolate chips (or more!)
1 C marshmallows
1 C chunky peanut butter
2 Tbs butter
1-2 C Chinese noodles
Melt the first 4 ingredients over low heat. When melted take off heat and stir in noodles. Scope onto wax paper and place in freezer.

These are a little crumbly and the kids kept saying “ouch!” with every bite, since they 'are' hedgehogs. But once you get past their prickles hedgehogs can go down quite smoothly. Lots of chocolate is the key!!

Thursday, October 16, 2008

New Things!

It seems that life is dishing up a lot of things new! It has been some years of thinking to myself, "this blogging stuff really looks fun!" I am sure it is the same with a lot of bloggers out there- months of thinking they should start a blog and then finally taking the plunge. I decided to take that plunge when I started thinking of my days as a blog entry. It seemed to me if so much time was spent in dreaming- I should do something about it! So here I am with another new thing, wondering where it will take me!

New things should come in pairs (it's safer that way). So with the new starts, should come a little celebration with a new recipe. And with the new season upon us- Pumpkin Rolls it is!


My daughter is in Kindergarten and was introduced to a new letter this week. The letter "B"! And every new letter should be celebrated with a fun project! "B's" project was making "BUTTER"! How fun and arm tiring. So do a little celebrating with us!


Butter


1 pint mason jar


1/2 C heavy cream


Pour cream into mason jar. Put lid on tightly. Hand to child and cut them loose, shaking wildly. The cream will turn to whipped cream and it will feel like nothing is moving in the jar. Keep shaking! All of the sudden you will see the walls clear and you will be left with butter and buttermilk! YUM!

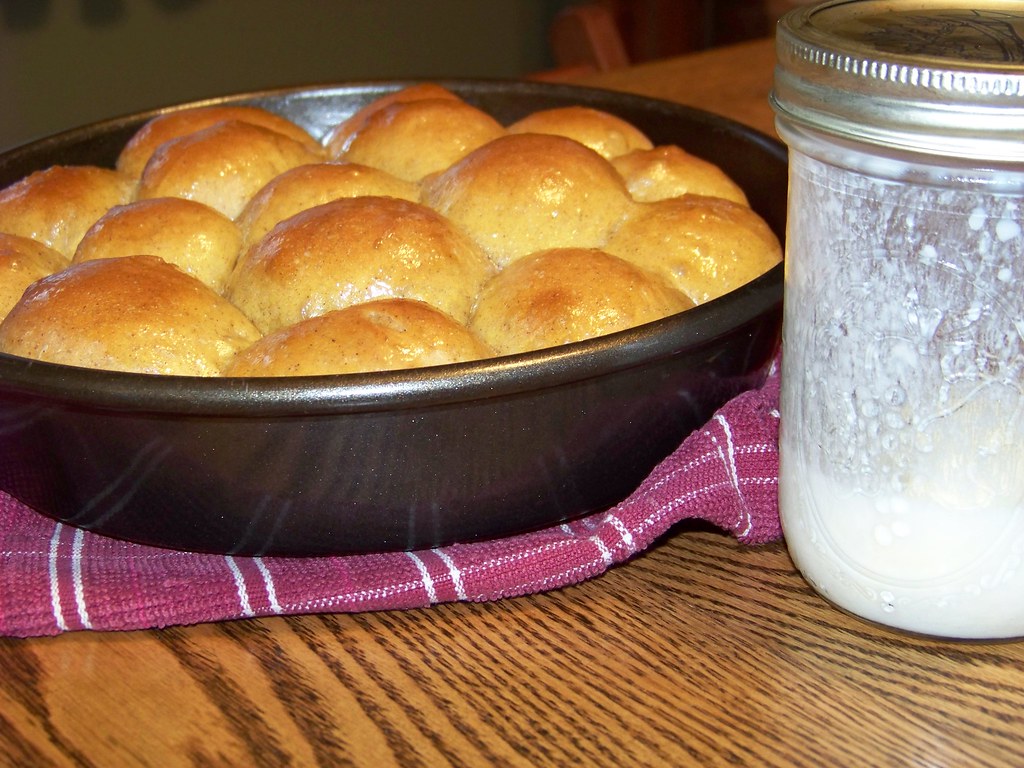
Pumpkin Rolls

1T yeast (SAF yeast- the best!)

1 C warm water (or you can heat up the buttermilk left in jar)

1/3 C honey

3T butter- melted

1t salt

1/2C powdered milk

1C canned pumpkin

1-1/2 t ground cinnamon

3/4t ground cloves, nutmeg, and ginger

4 to 5C all-purpose flour

You can easily make this recipe by hand kneading or using a mixer with a bread hook. I used my food processor with the kneading blade.

1. Dissolve yeast in water in food processor. Let sit for 15 min. Yeast should be nice and bubbly.

2. Add all ingredients but the flour. Mix for a few seconds.

3. Now add one cup of flour at a time until the sides are clean. Let it knead for a little longer, then place in oiled bowl.

4. Cover and let it rise for about a hour until it has doubled in size.

5. Punch down and separate into 32 pieces. Roll into balls and place in two greased 9" round pans(16 rolls per pan).

6. Let rise for about 30 minutes, until double in size.

7. Place in oven and turn on to 375 degrees. Bake for 25-35 minutes. They should look nice and golden on top. Brush with a little butter while they are warm.